Flat Bit Holder Mod for Leatherman FREE P4 &, P2 3d printed Bits, tools and other accessories not included
Bit Holder for the Leatherman FREE Series

Bit Holder for the Leatherman FREE Series

Regular price $42.00
/
Shipping calculated at checkout. This item typically ships in 2-3 Weeks

Type
Finish

New metal pricing information

This modification adds an interchangeable bit holder to your Leatherman FREE P4, P2, T2, K2, K4 or Mr. Crunch.

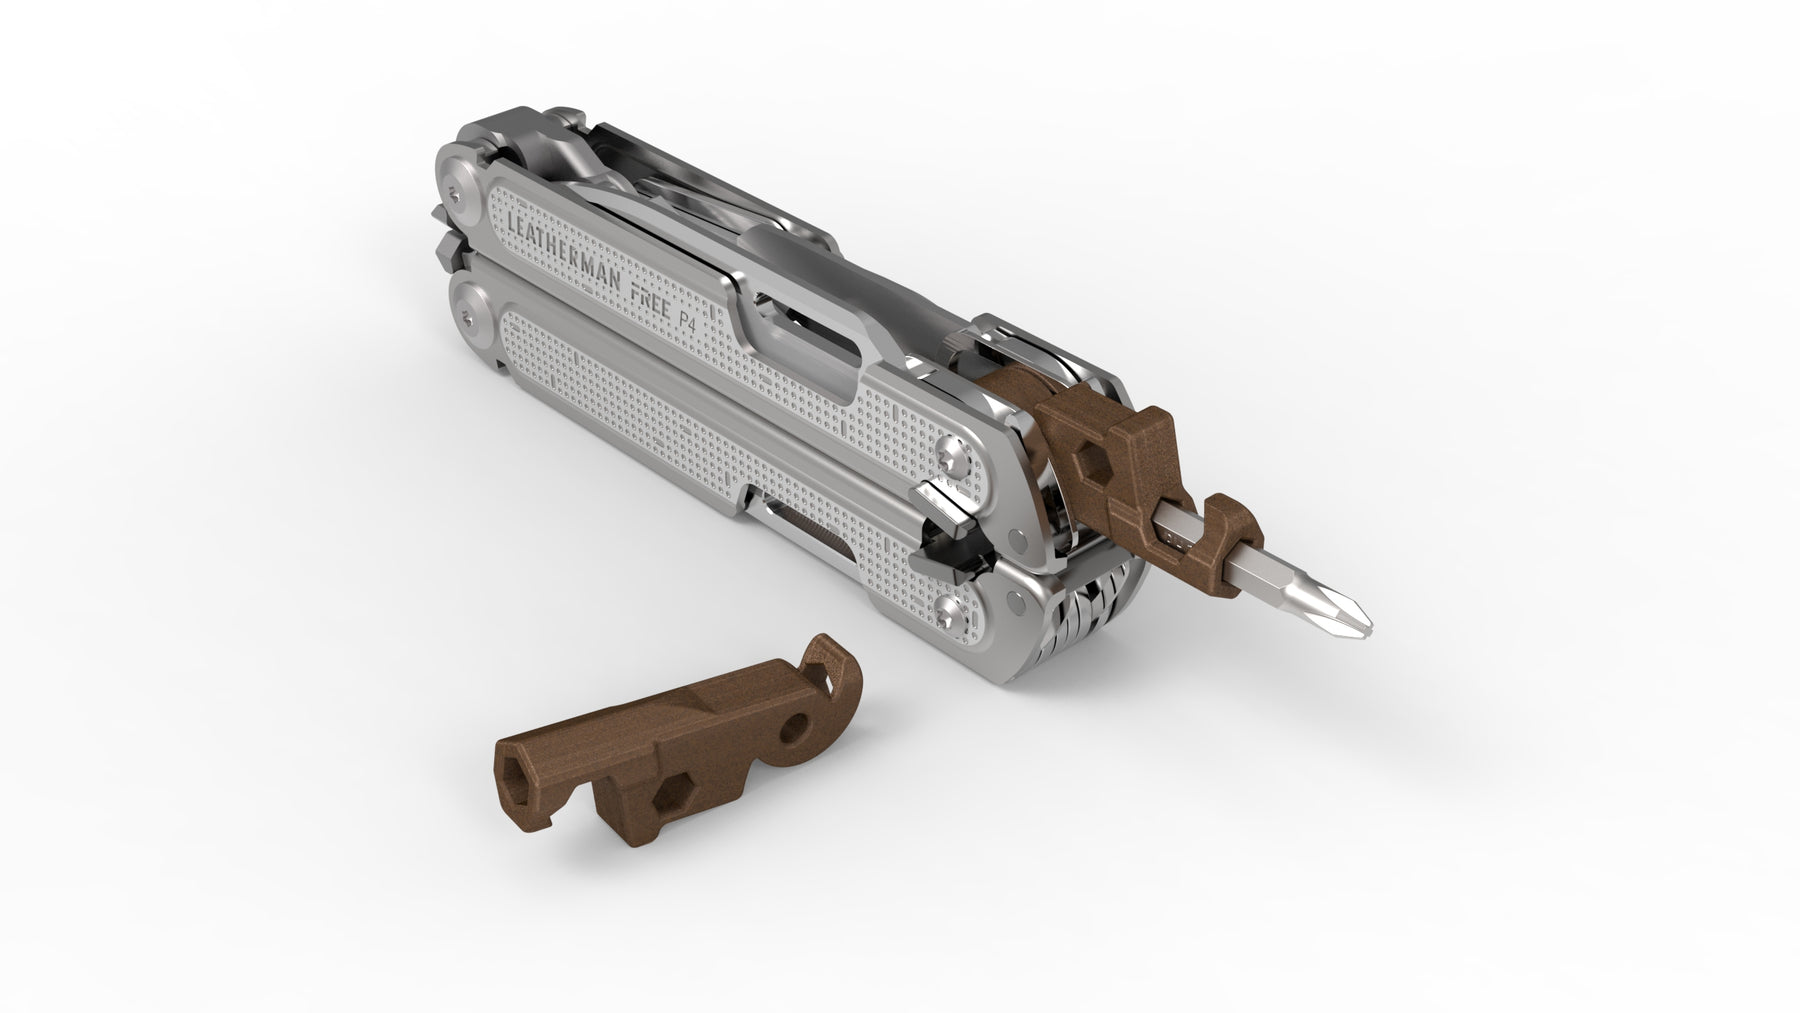
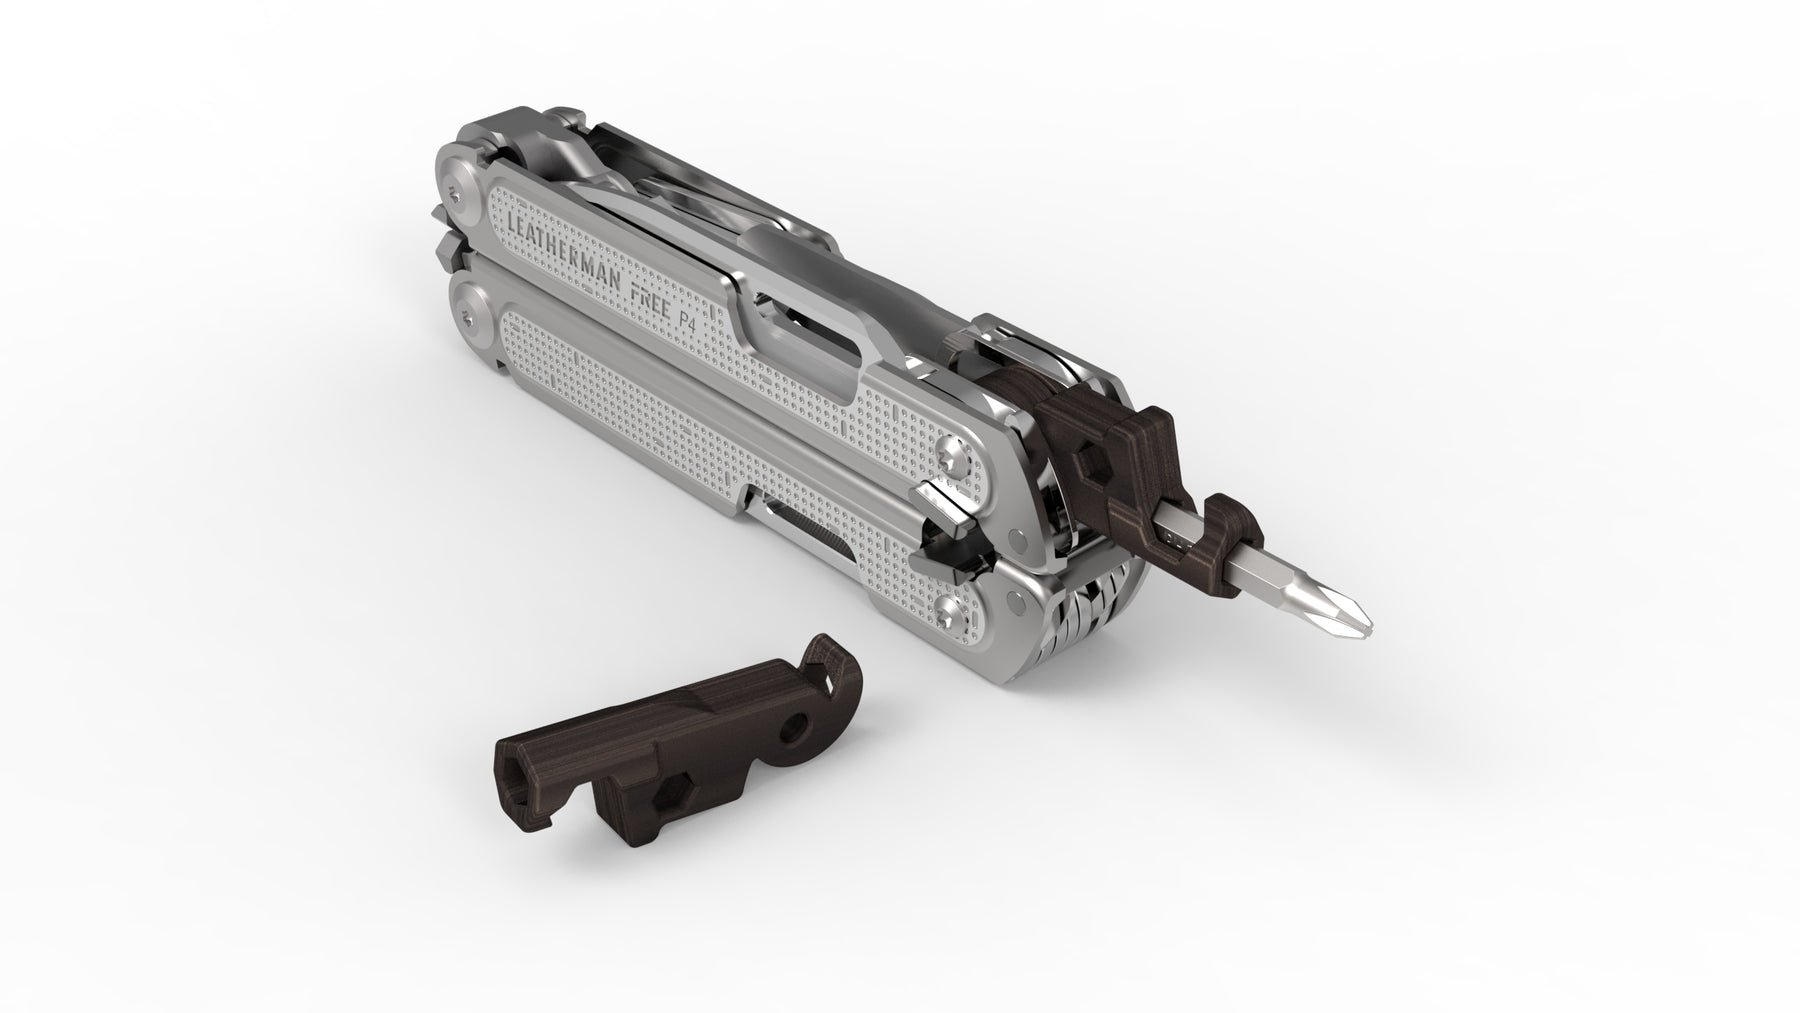
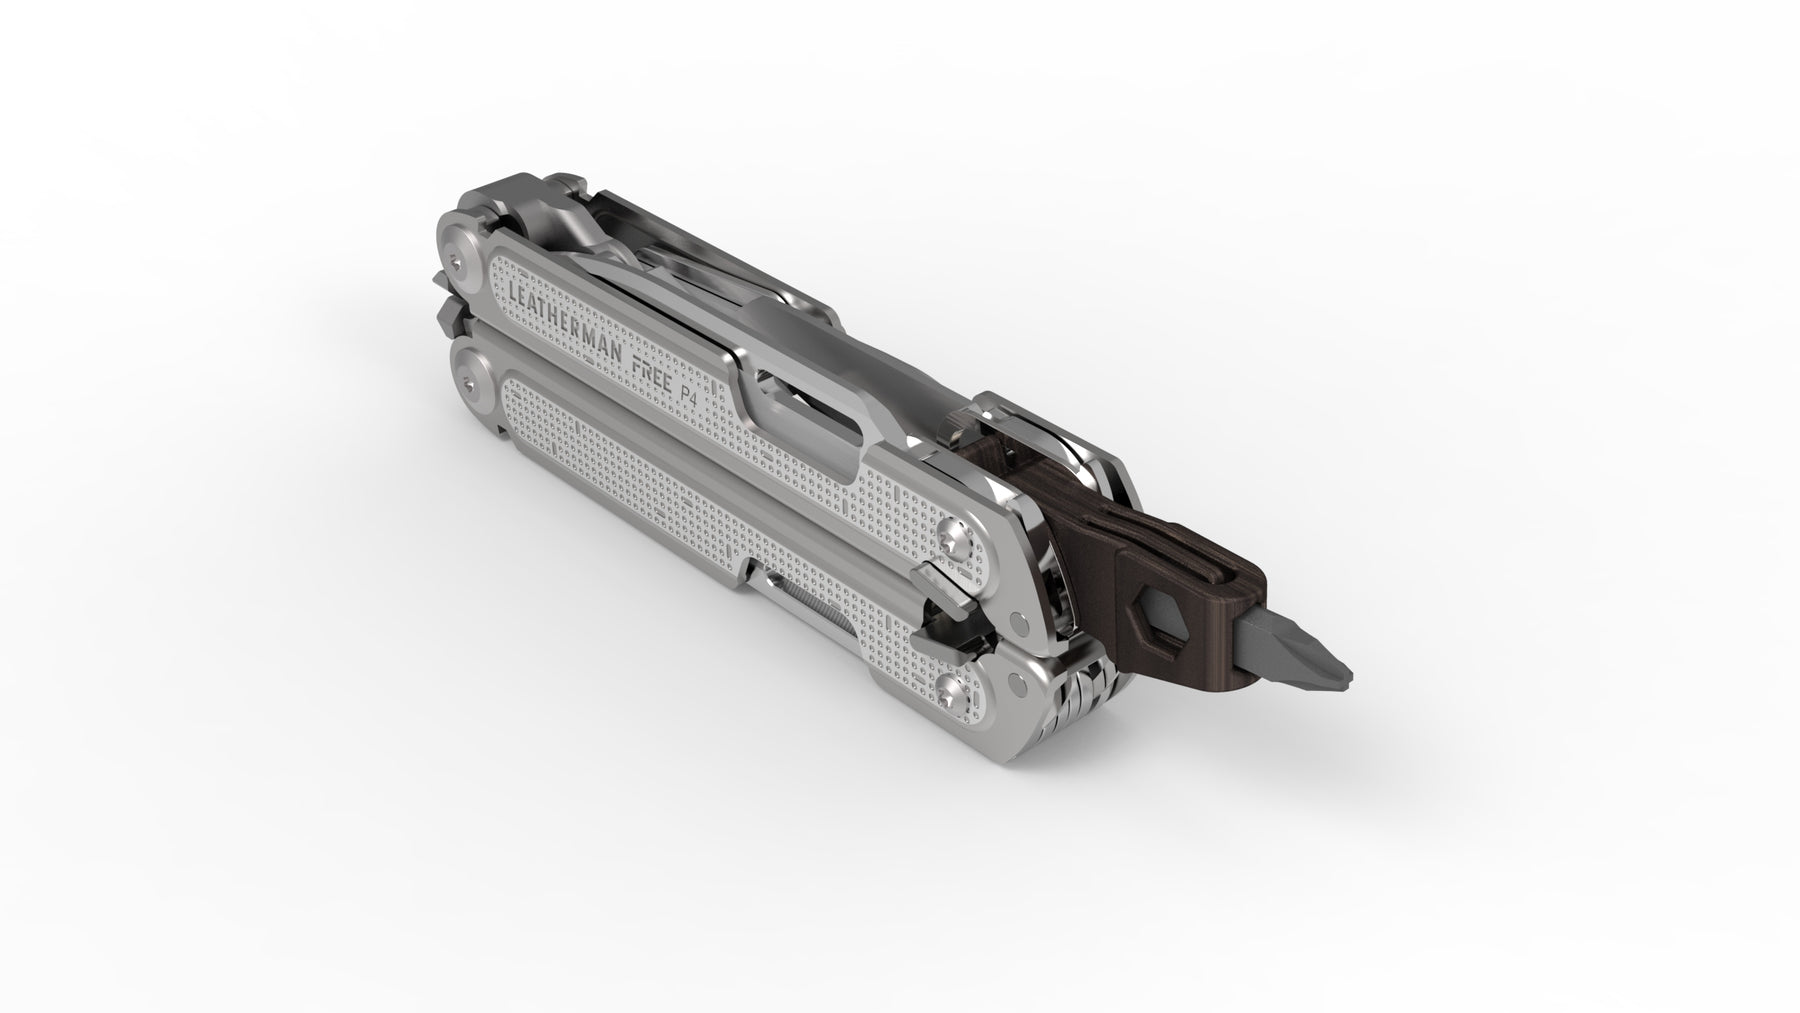
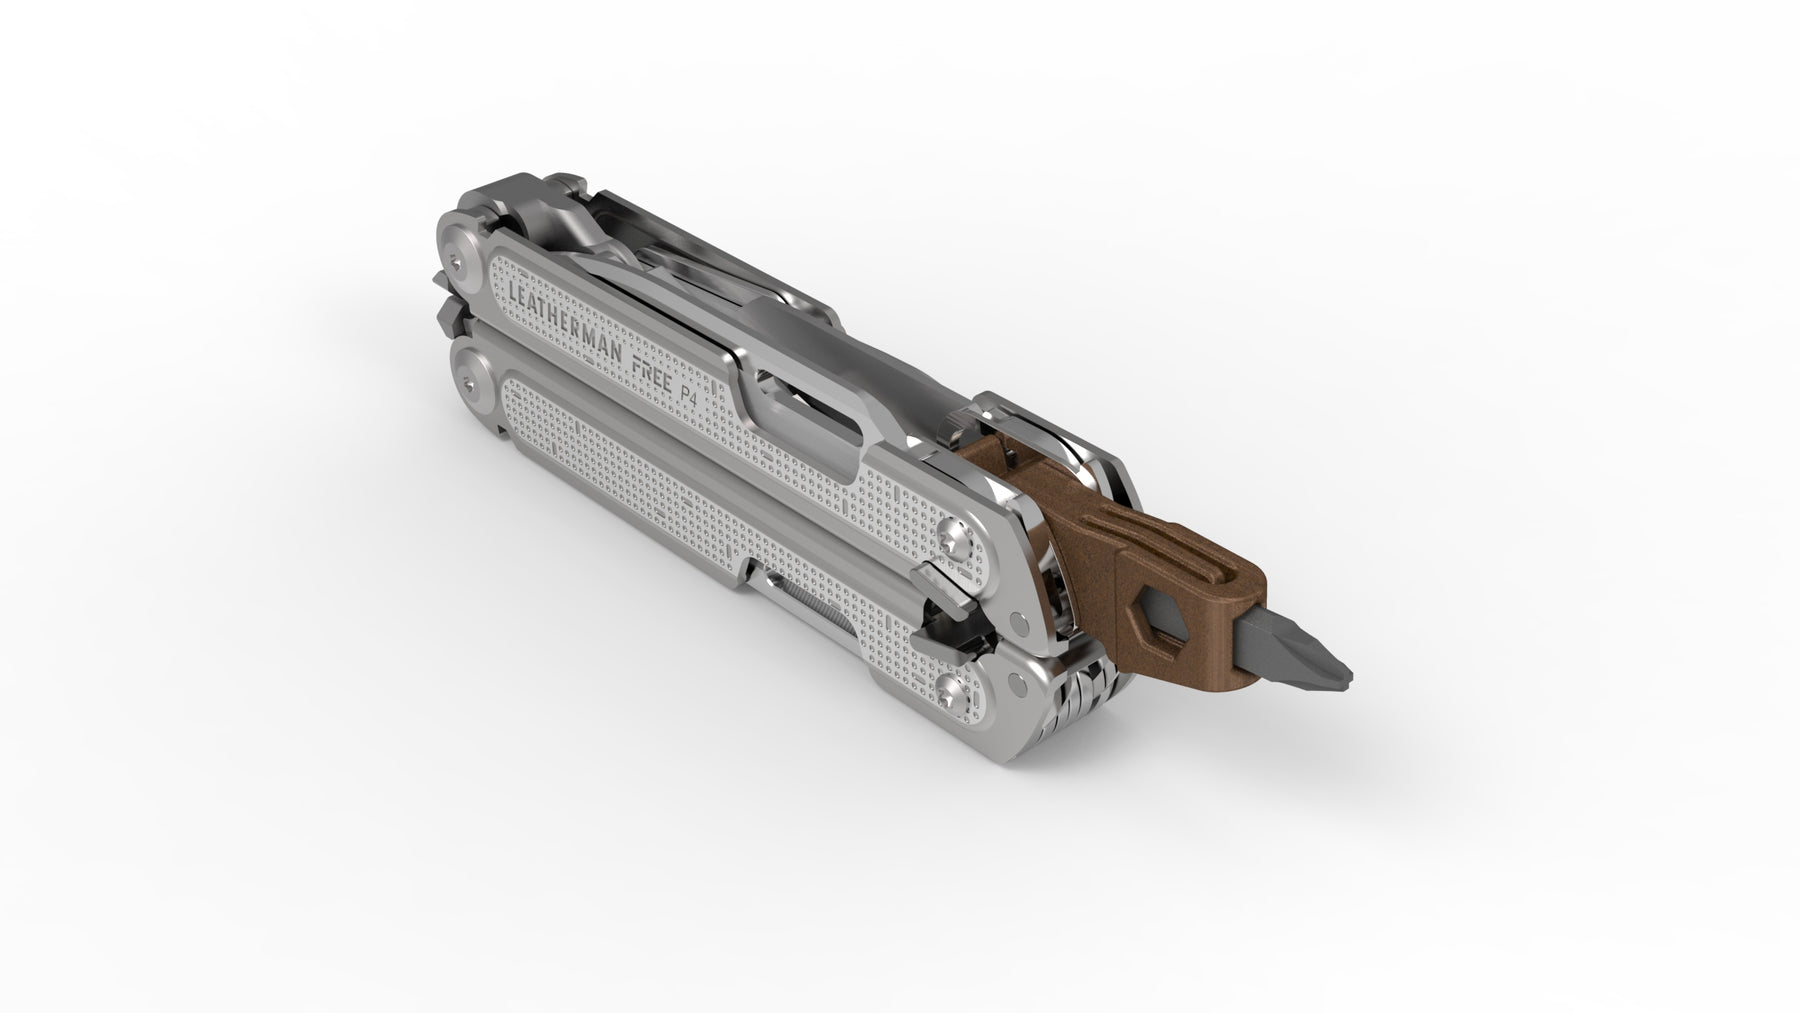
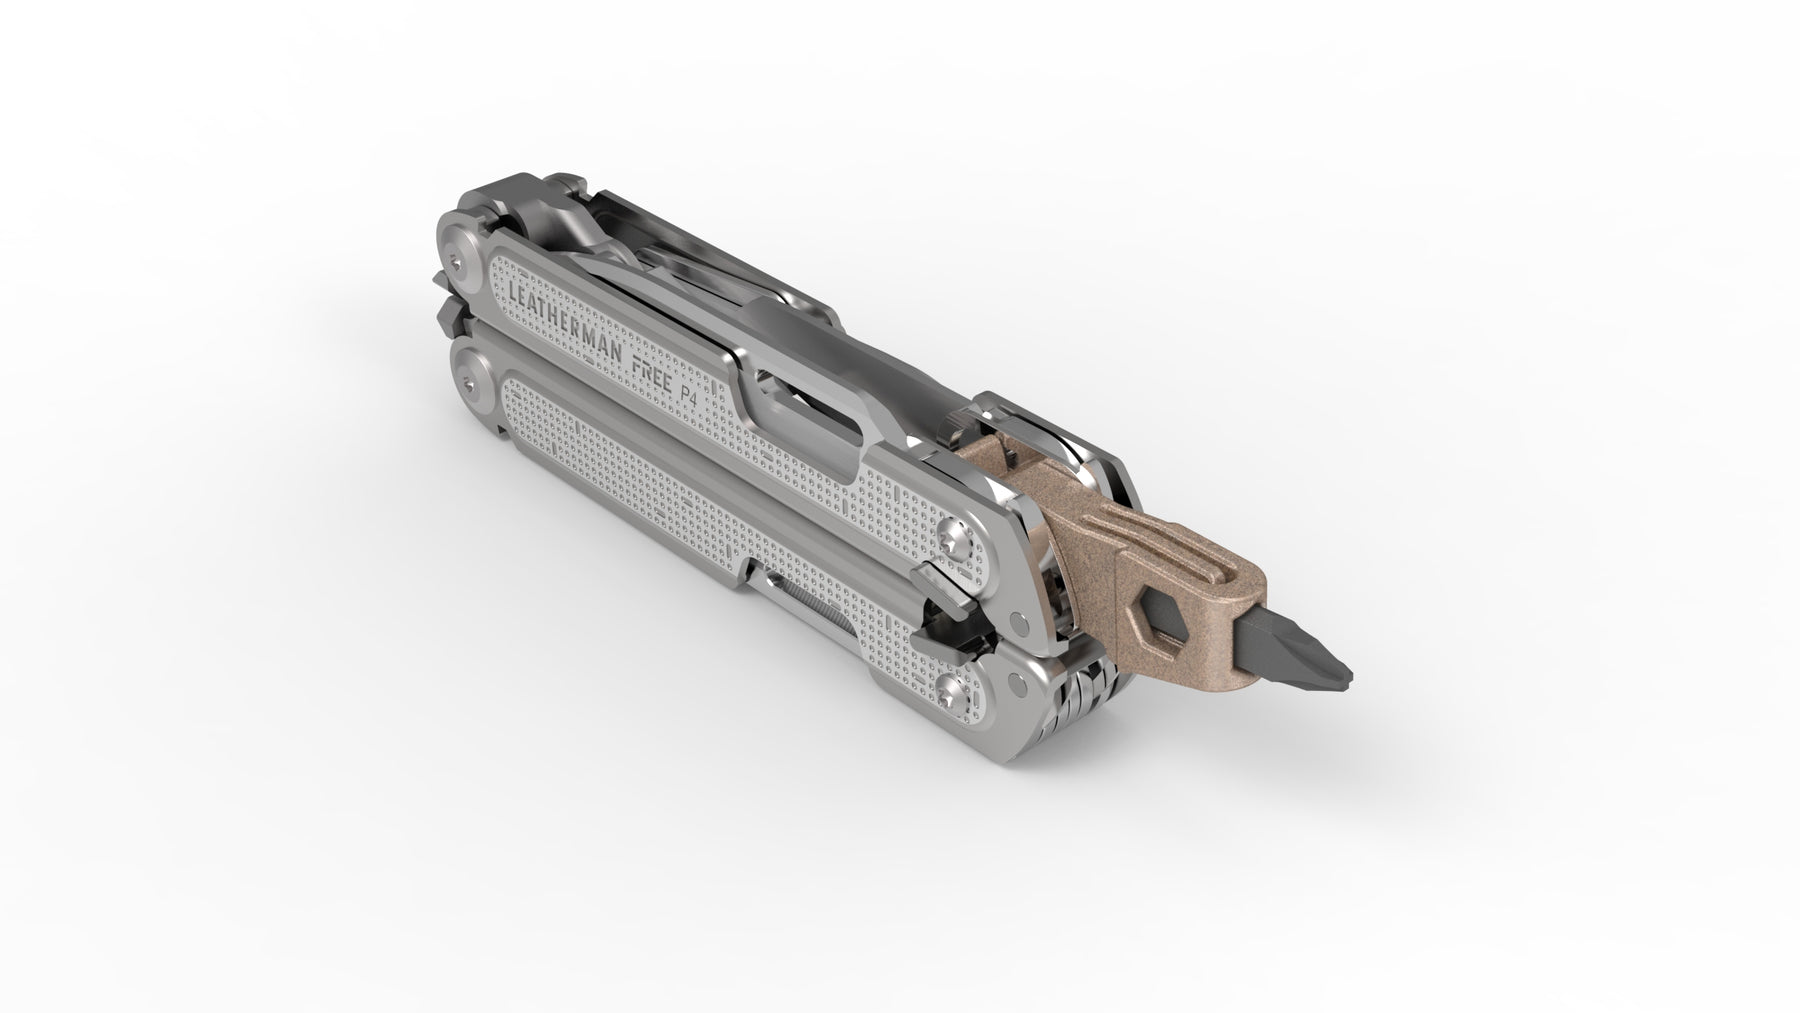
This user-installed modification normally replaces the Philips and Pry-tool implements on the tool. Once installed, the tool folds into the frame of the Free series tool, including any attached bit (up to 30 mm long).

Features:
#4mmBits

  • Made from 60% 420 Stainless Steel, 40% Bronze
  • Fits 4 mm Precision Bits
  • Bottle opener.
  • 1/4 inch hex perpendicular wrench.
  • 4 mm hex perpendicular wrench.
  • 4mm hex opening usable when tool is closed.
  • Magnetic bit holder (Magnets purchased separately).
  • Available in three finishes:
    • Select "Silvered Bronze" for the closest fit to the tool
    • Select "Bronze" for a fully bronze color
    • Select "Blackened Bronze" for a contrasting dark bronze look
    • See this page for an image of all three side by side
#FlatBits

#All

(Not compatible with the FREE T4)

Magnet Required:
#4mmBits

The magnet needs to be purchased separately.

The recommended magnets are 1/8" Diameter x 1/4" Long neodymium magnets. (or 3mm x 6mm). I recommend purchasing a N52 rated magnet for maximum strength.  The magnets do not interfere with the existing magnet inside the tool. The following magnets are recommended:

Installing the magnets:

If you already watched the video, please note that you shouldn't need to hammer in the magnets in. I have tweaked the design to allow a bit more space. 
  1. Using a 1/8" or 3mm drill bit, and a drill to ream out the hole. Ensure the magnets can be inserted without excess pressure.
  2. Insert a thin metal rod into the front of the 4mm opening and through the magnet chamber. A 2mm allen key works great for this.
  3. Attach the magnets to the metal rod, and use the rod to pull them into the chamber.
  4. Test fit the magnets before gluing to ensure the chamber is clear of any debris.
  5. Remove the metal rod, and test that a 4mm bit is held well.
  6. Ensure they reach all the way to just behind where the primary 4mm bit opening is located.
  7. Push them back out of the chamber, and apply a small dab of super-glue to the magnets.
  8. Pull the the magnets into the hole, and if you need push them all the way in using a non-metal tool, such as a toothpick. Ensure they are are as close to the primary 4mm bit opening to ensure maximum strength.
  9. Clean up any excess glue using  a small amount of acetone.
  10.  Wait for the glue to set before installing the bit holder in your tool.
Post Processing:

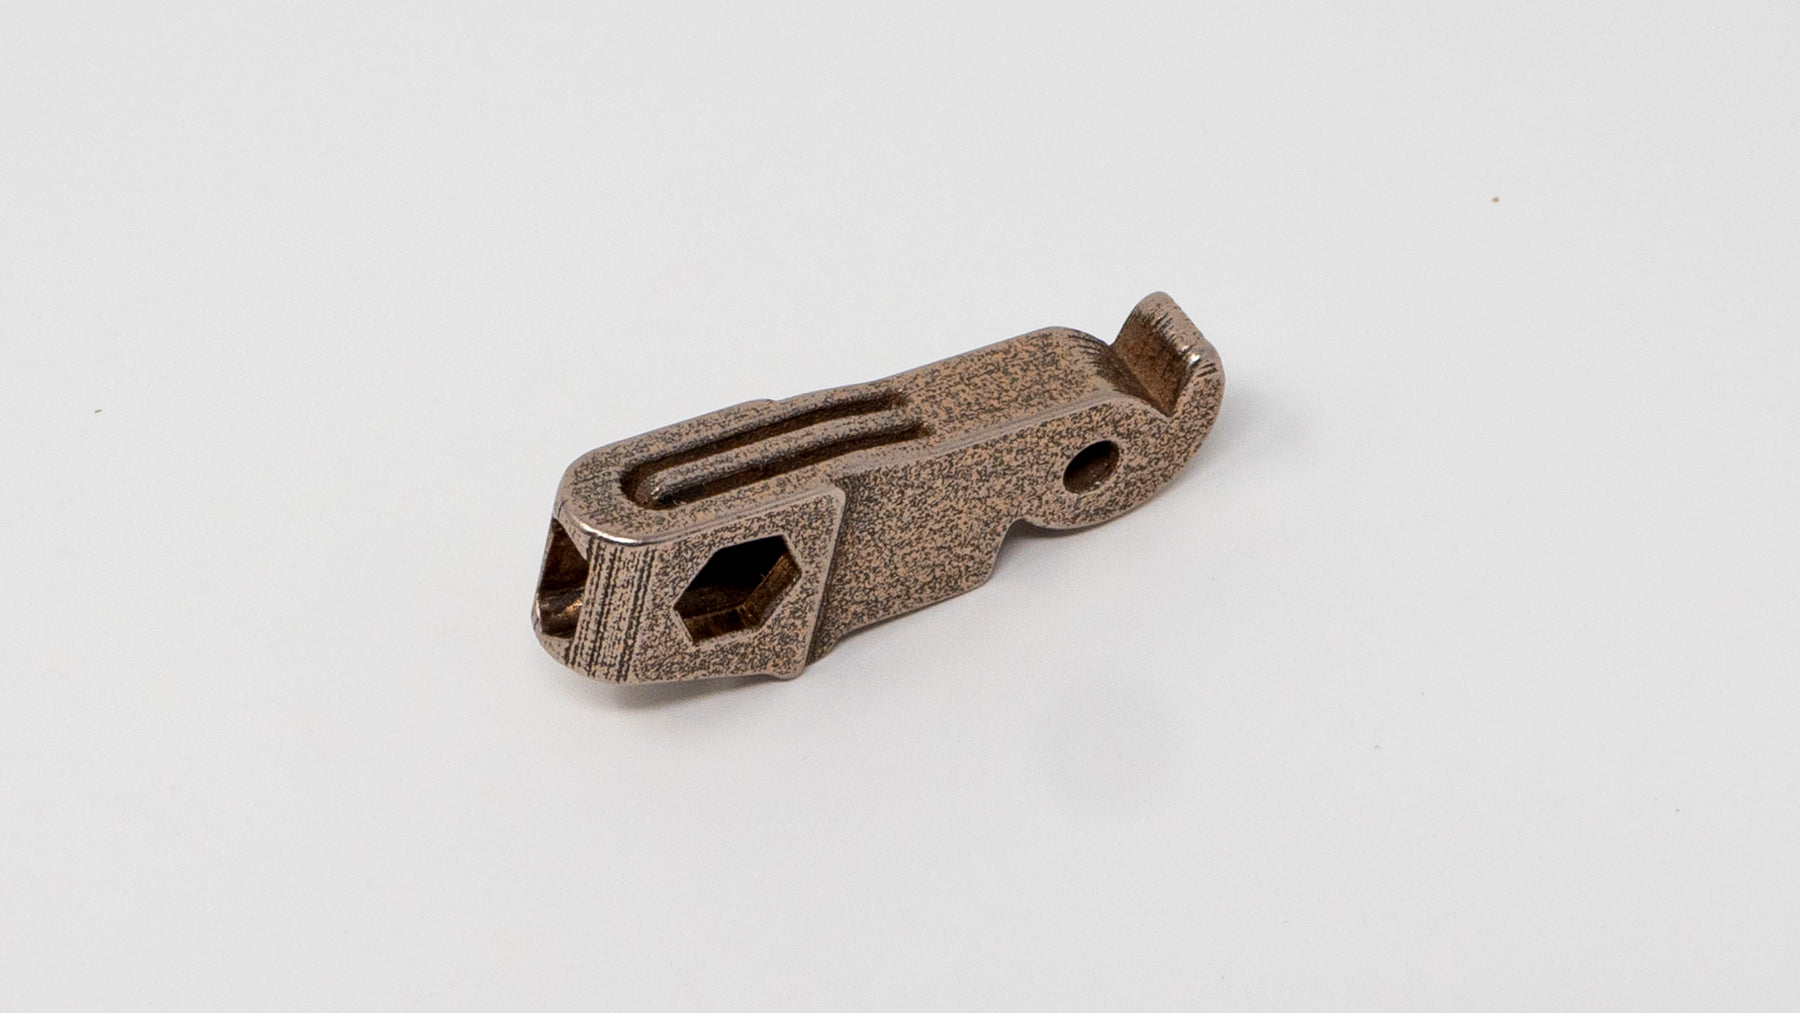
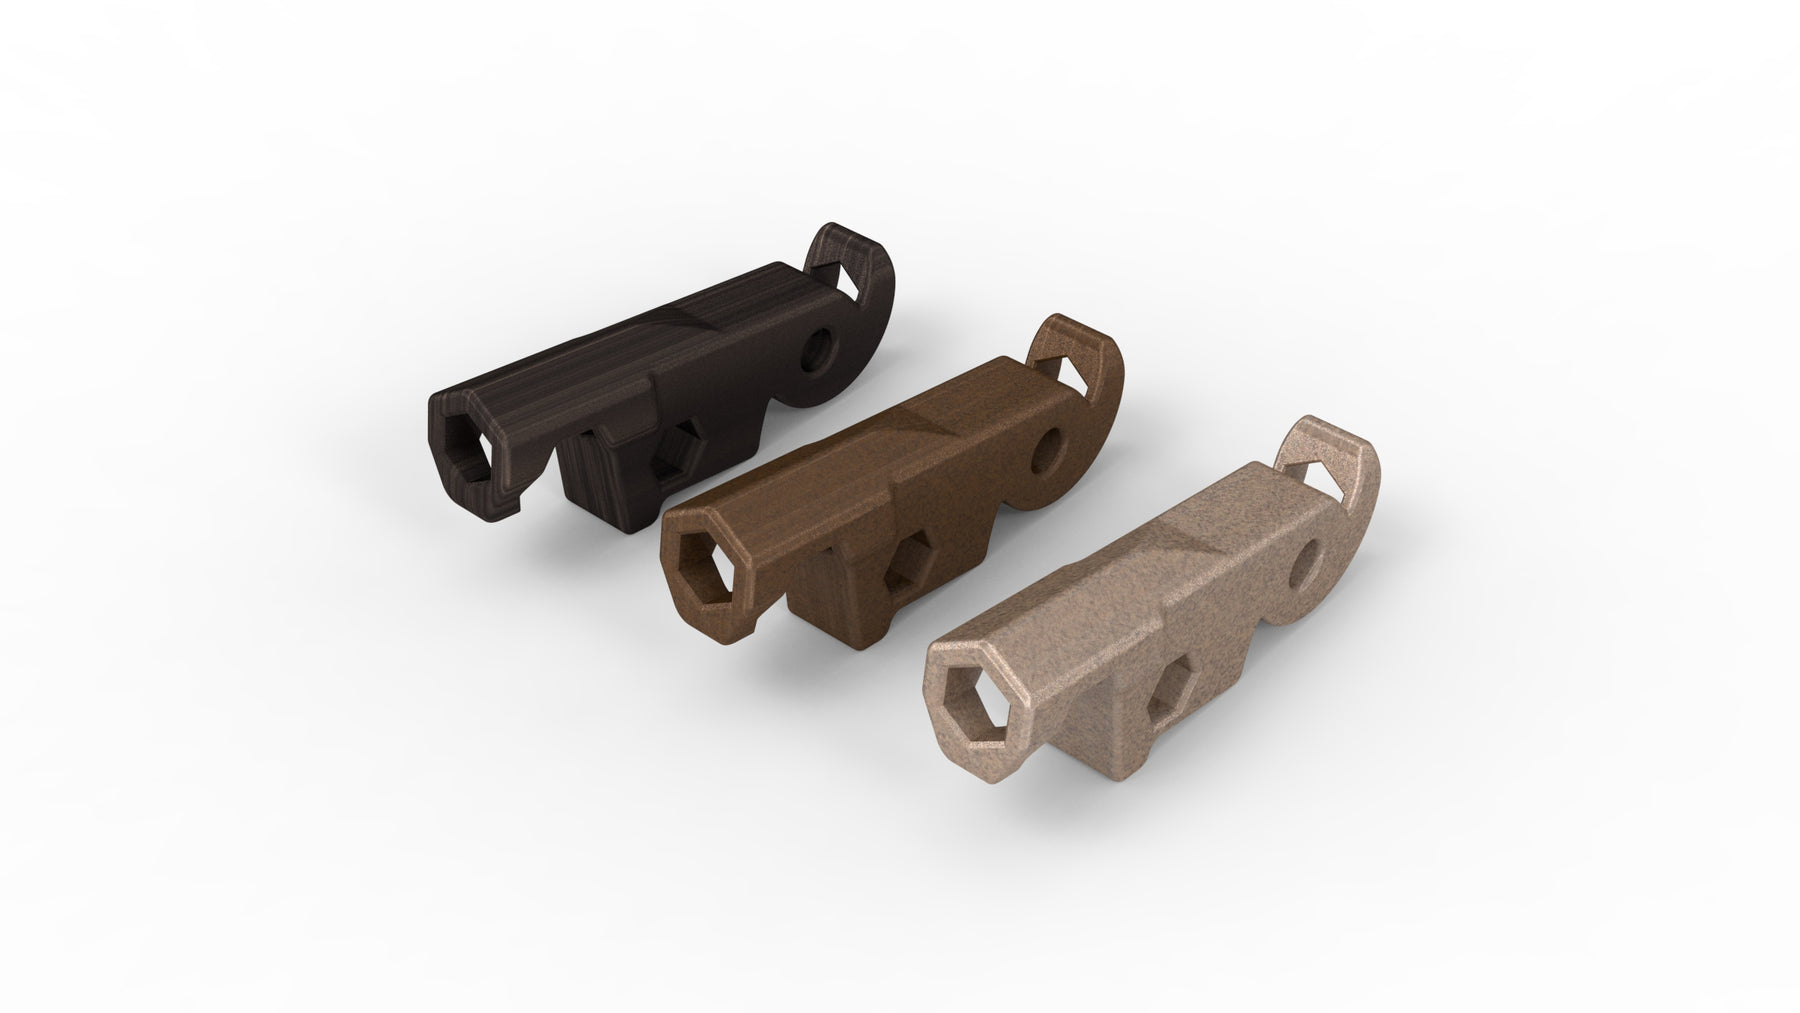
The parts are made by bonding stainless steel powder. The resulting part is sintered and impregnated with bronze to fully meld the two metals together.

Because a powder is used: Some internal areas of the part may end up with stuck powder that needs to be cleared away using drill bits or files.

If your part has an excessive amount of stuck powder, or filled holes, contact me with a photo of your part for a replacement. This must be done within 7 days for me to get a replacement from Shapeways.

The part is similar to a casting, and shrinks a small amount during processing. The CAD model has been designed to compensate for this, but some manual filing may be needed on some parts if the parts fit too tight or bind. Use a needle file to clean up any burrs or places that are sticking.

The material is stainless steel, so diamond needle files may be required. The mounting hole may require reaming using a drill bit capable of handling stainless steel.  A 1/8" or 3.2mm drill bit may be used for this task.

Installation:

The tool must be taken apart to install this modification. Any warranty concerns are entirely up to the user.

  • You will need two Torx T9 bits to remove the screws holding the tool together.
  • The screws need to be loosened by holding one side with a bit, and turning the other side.
  • The screws are secured using thread-locking compound, and heat may be required to loosen the compound.
  • Care should be taken to open the tool on a clean surface.
  • Silicone based lubricant may be added during assembly.
  • The tightness of the tool will depend on the amount of torque you apply during reassembly.
#FlatBits
My bit holder is too tight, what can I do?:

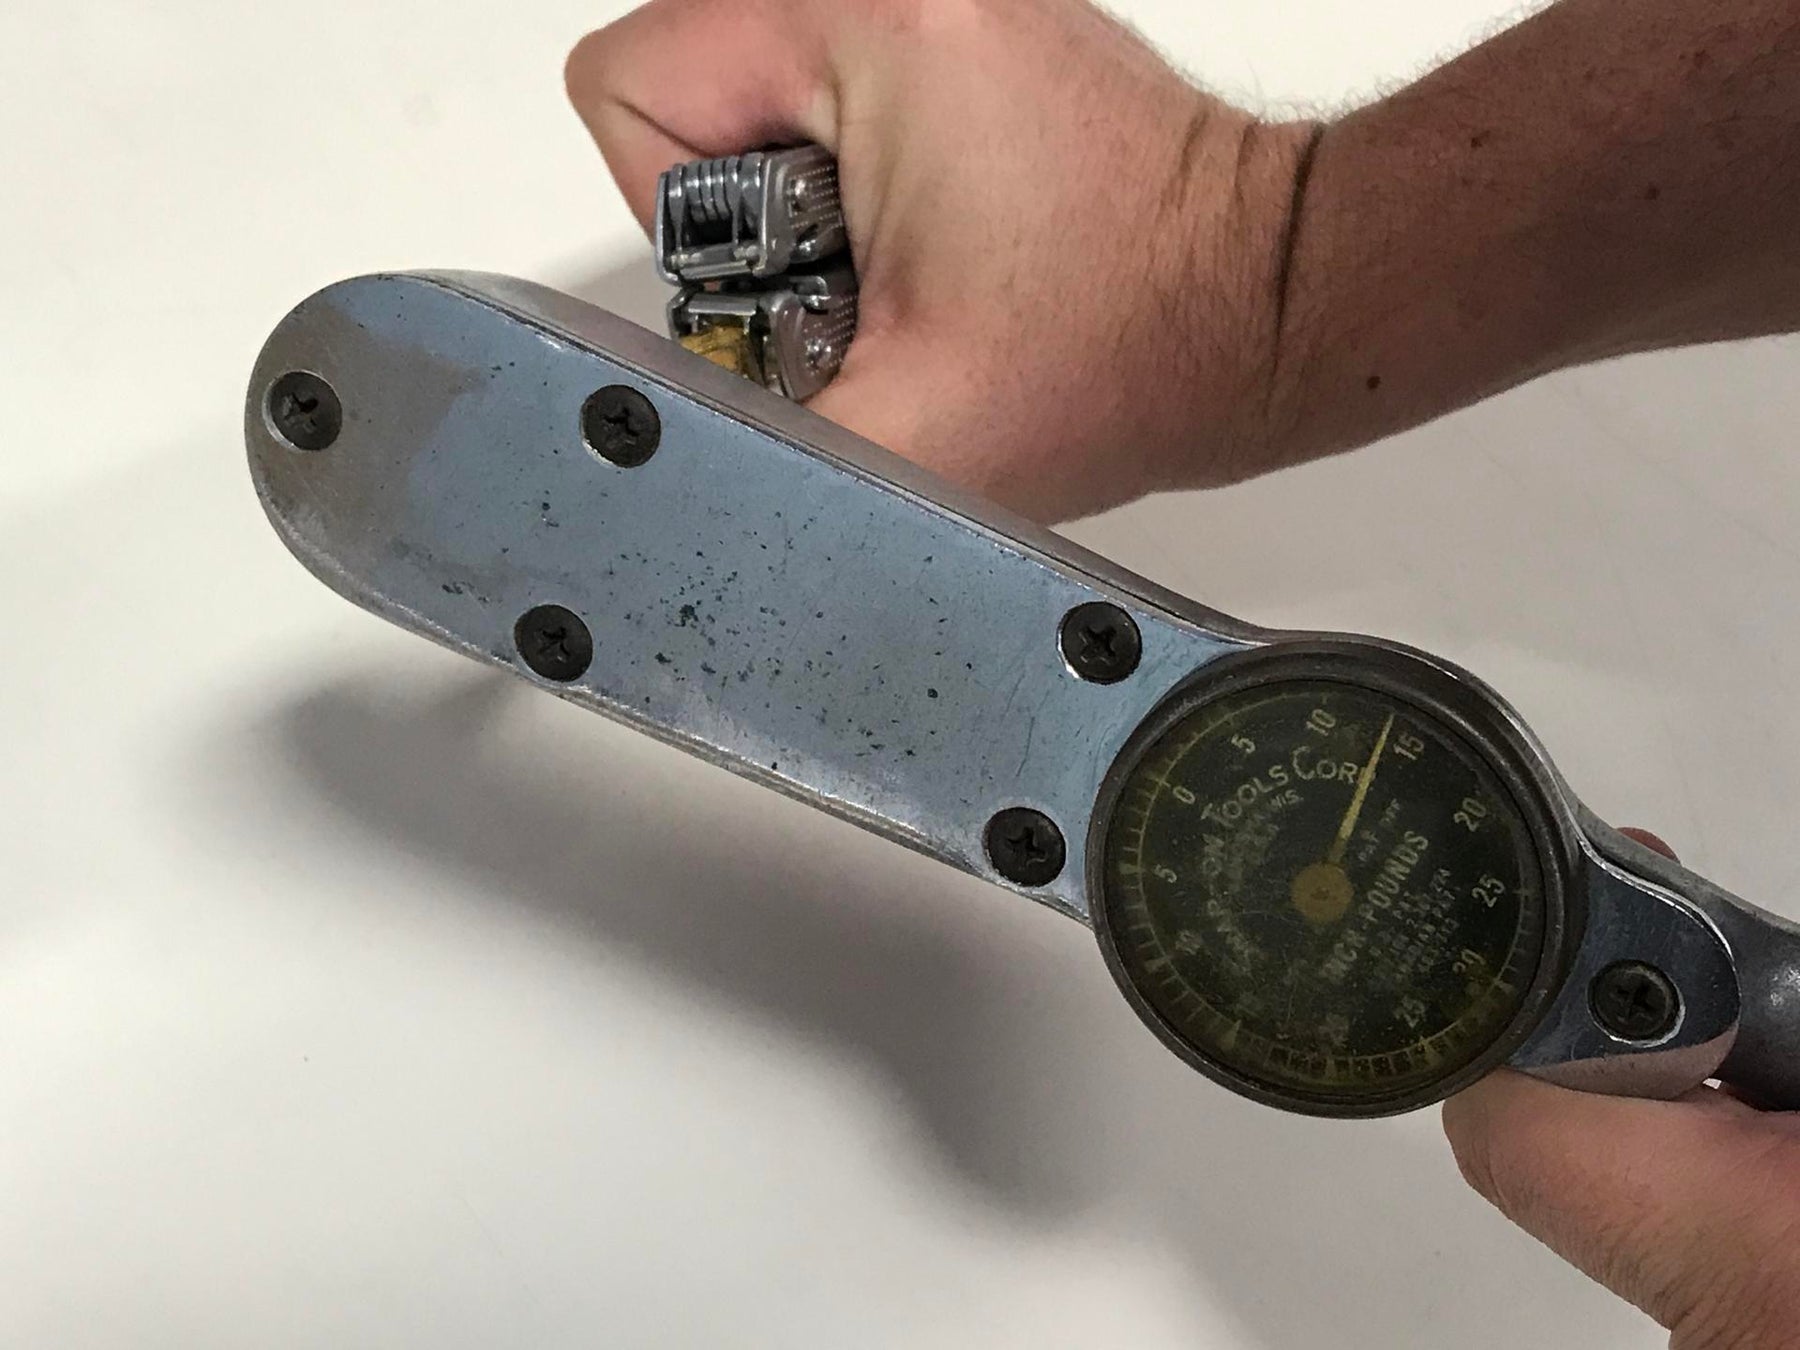
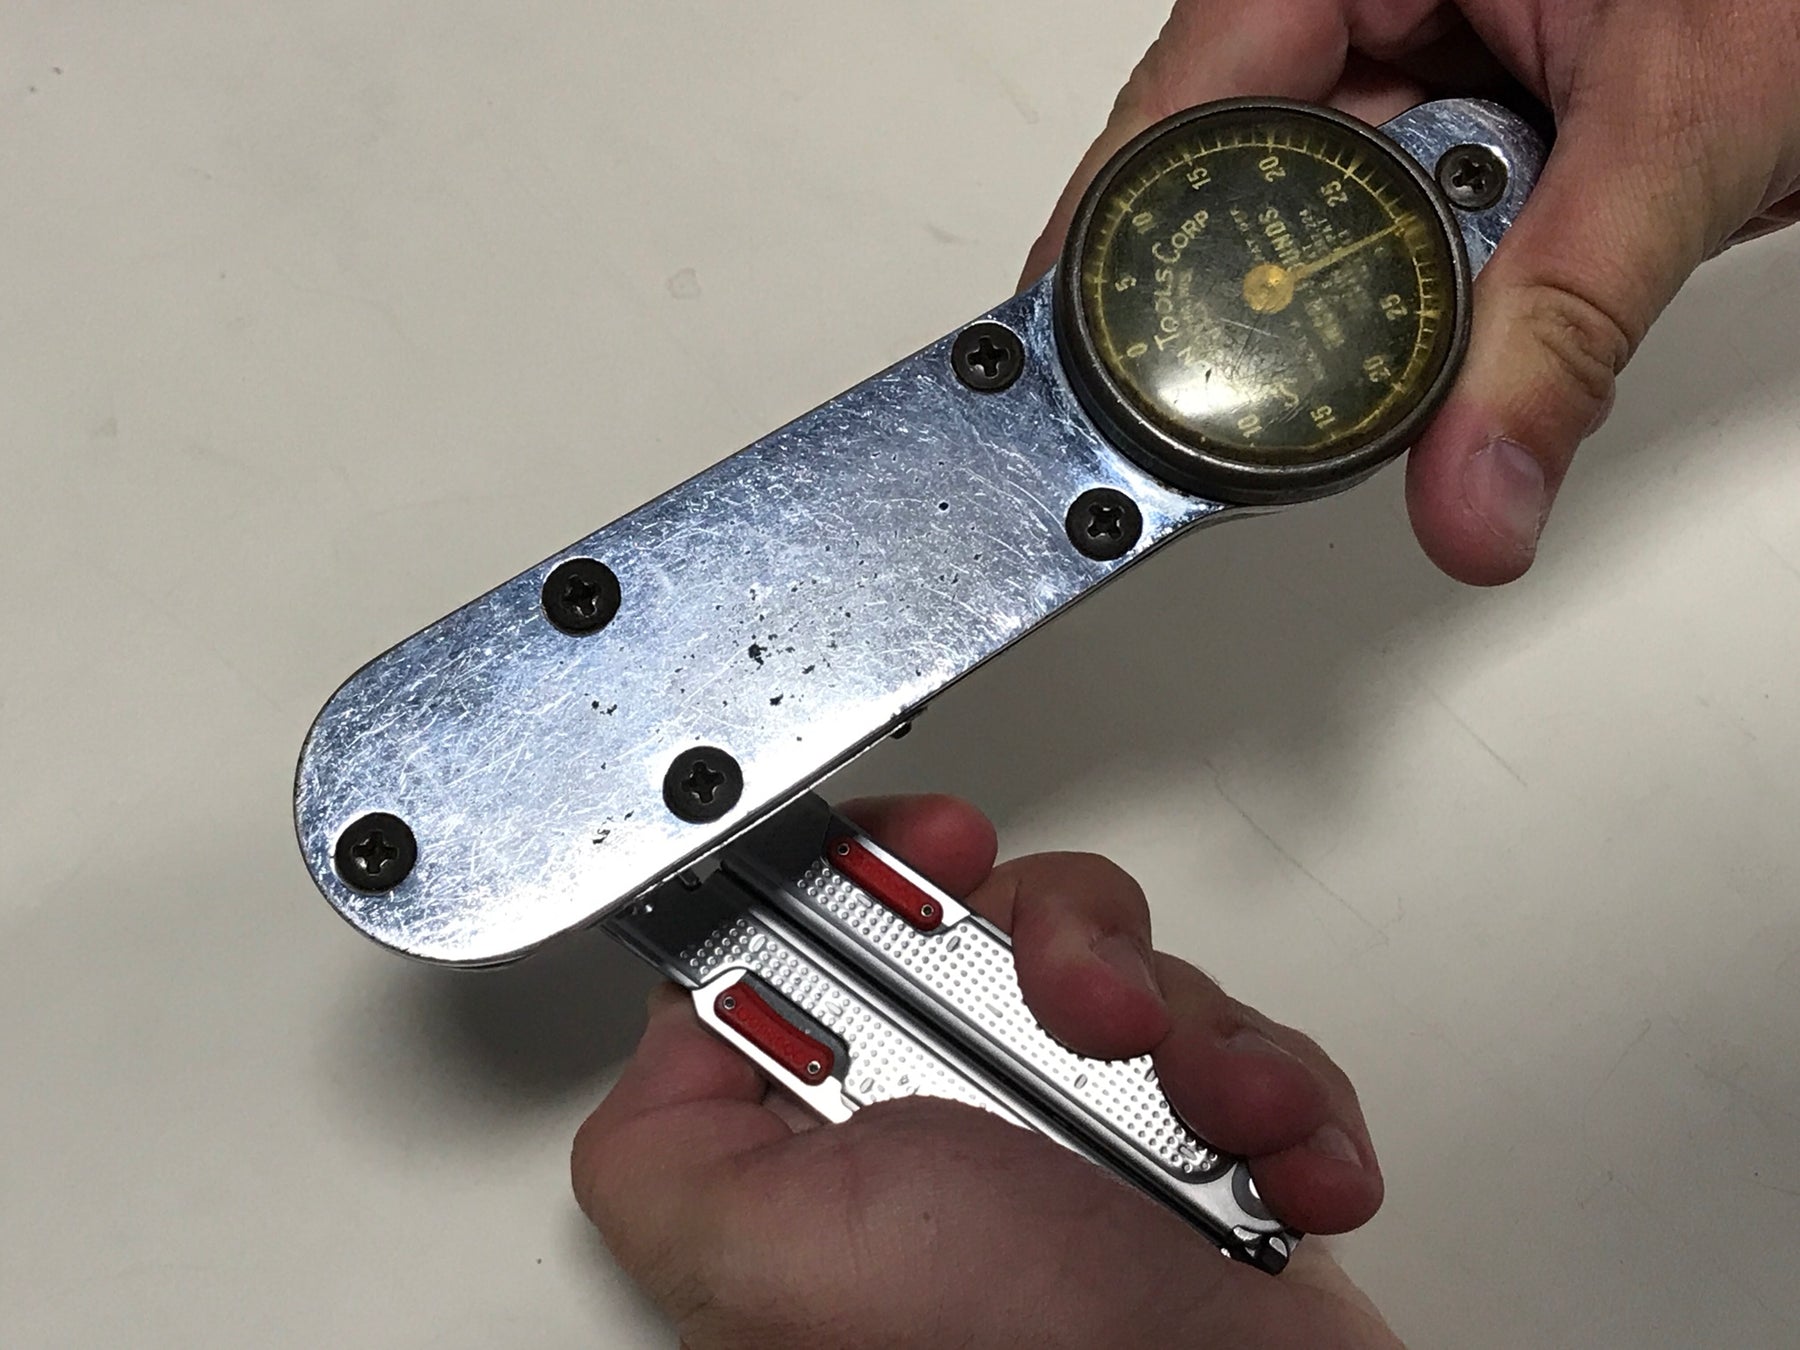
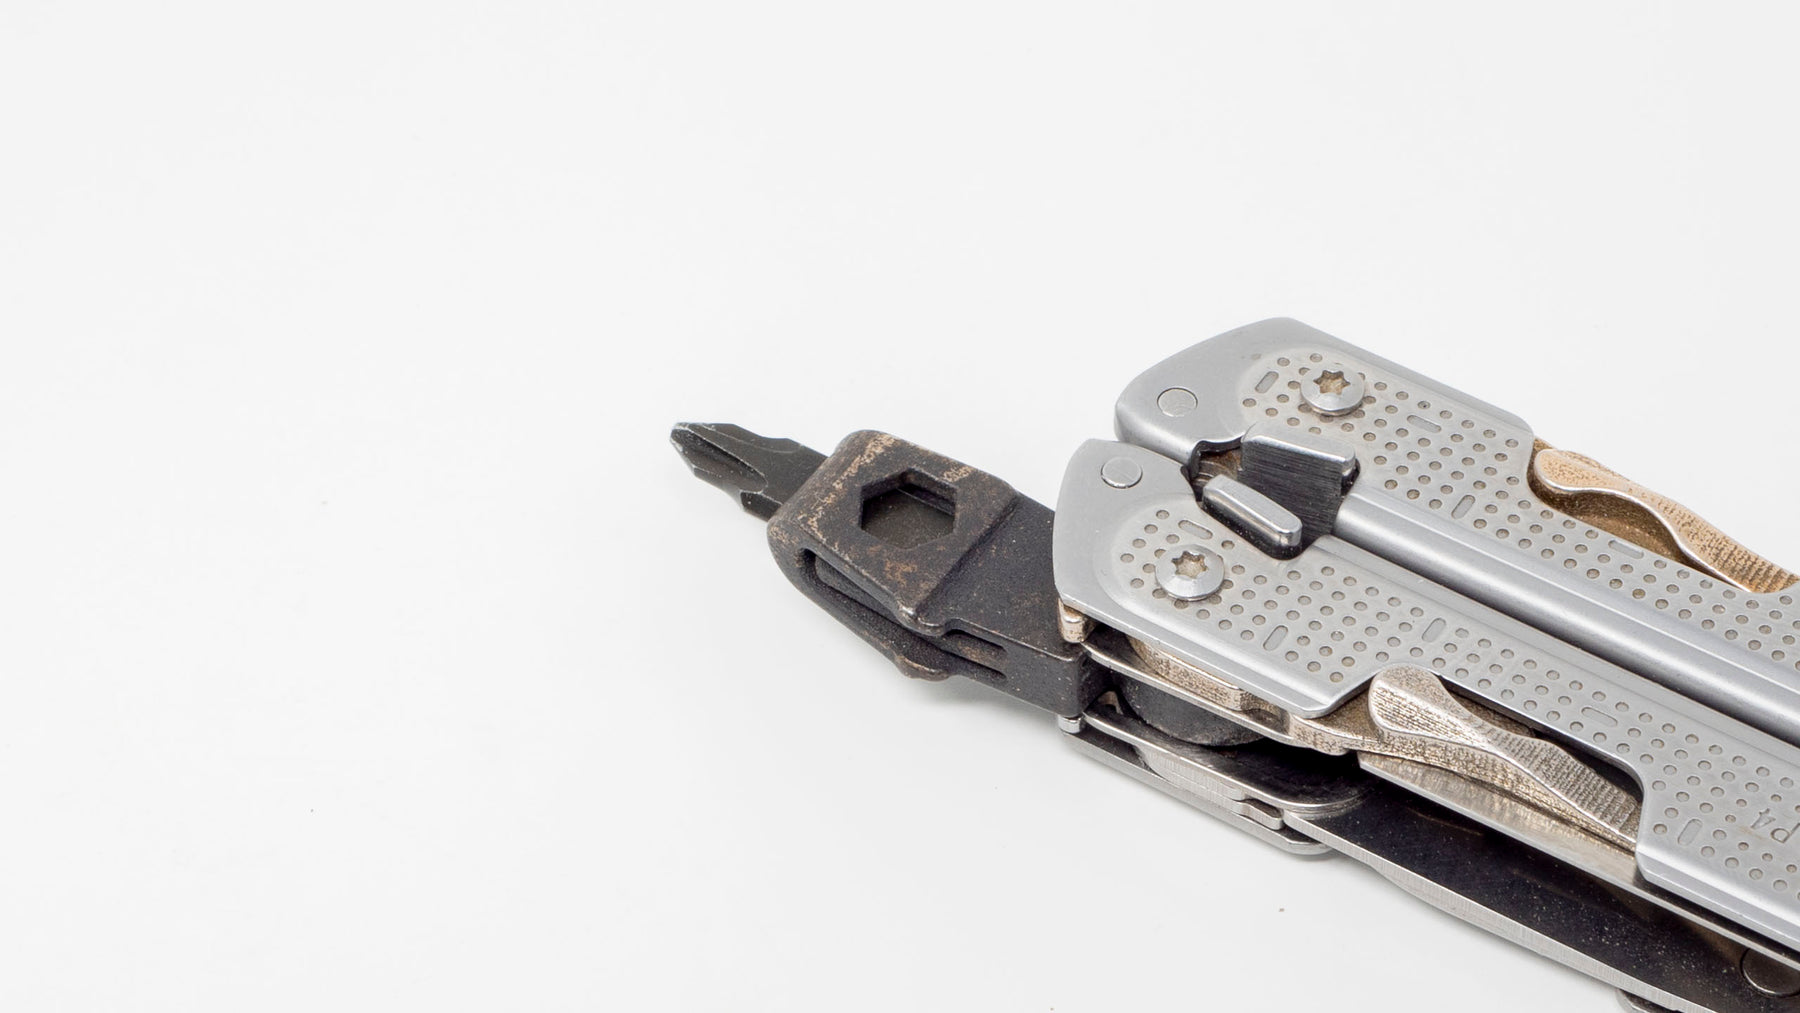
Some users may experience bit grips which are a bit too tight for normal use. In this case you need to very gently pry one (or both) of the spring arms upwards a tiny amount. It takes very little movement to get the correct grip. Excess bending may break the spring arm, so I recommend keeping your finger on the arm as you bend to prevent going too far.

For a visual example see this video:

Can I keep my Phillips driver or Package Opener implement?:

Yes! The Bit holder is 0.26" thick. The same thickness as the Phillips + Package opener.

If you want to keep either of those thicker implements, then you can move it to the other side of the tool and replace two of the thinner implements.

FREE P4 stack-up:

FREE P2 stack-up:

FREE P2 Stack-up

What am I getting / not getting?:

This list will update depending on the options selected

Included:

#FlatBits

● One 3D Printed flat bit holder

#4mmBits

● One 3D Printed 4mm bit holder

#All

Not included:

● Leatherman Tool

● Driver Bits

#4mmBits

● Magnet

How Shapeways fulfillment Works:

Many items on this website are manufactured by Shapeways.com

The parts are professionally 3D printed, and then drop shipped to your address.

I cannot customize, alter or process any returns after your order has been placed. All sales are final.

Items destined for a US address are made in the USA either in Michigan or New York. International shipments may be produced in either the USA or Netherlands.


ZapWizard is the part designer. I receive a fixed portion of the total order.

Upon order you will receive a confirmation of the order, and a notification upon shipment. If you need more details on the state of an item please send me a message with the order number, or place your order directly on my Shapeways.com store.

All items in the US are shipped using UPS Mail Innovations. This means your shipment will be transferred your local carrier for final delivery. If you require faster shipping or international shipping: Please order directly from the Shapeways.com marketplace.

Shipping costs and any other related fees related to Shapeways are controlled by Shapeways.com. For more information please see the Shapeways.com page on shipping time and costs.

Shapeways.com provides a 10-day warranty for manufacturing defects. Please contact me as soon as possible if you have any defects such as a warped metal part, or heavily filled area. Please include your order number and a photo of the defective part.

Parts are made in Michigan, New York or the Netherlands depending on final shipping location.


About the material:

  • 60% 420 Stainless Steel
  • 40% Bronze
    • 90% Copper
    • 10% Tin

Printed by binding stainless steel powder into the shape of the object. The part is then placed in a 1100°C over and infused with bronze. The part is then sintered into a solid metal part.

The part is then polished. Some burrs may escape polishing, especially on internal areas. Holes may require reaming with a drill bit.

If your part has an excessive amount of stuck powder, or filled holes, please contact Shapeways customer service with a photo of your part for a replacement.

Material specs and MDS sheets located here.

The bronze steel amalgam comes in three finishes:

  • Silver Bronze
    • It can vary a bit from part to part. Sometimes is it a lighter silvery color, sometimes a slightly brass looking color
    • The finish does remain and won't wear off
  • Bronze
    • This is a more solid looking brown/bronze finish
    • The finish does remain and won't wear off
  • Blackened Bronze
    • This is a matte black surface finish
    • It will rub off in wear areas leaving a patina like finish over time

Metal Finishes


Customer Reviews

Based on 3 reviews Write a review

Customer Reviews

Based on 2 reviews
100%
(2)
0%
(0)
0%
(0)
0%
(0)
0%
(0)
T
Tom Willems
Nice modified P2

Very happy with my bit holder and a nice upgrade for my Leatherman P2!
Thx

M
Marc R
Excellent Product

Excellent product, quality and support